This field activity involved getting outside and seeing unmanned aerial systems (UAS) in action. The class was told to meet at the Eau Claire Outdoor Sports Center (Figure 1). This is a location with a large amount of open space perfect for launching a rotary-winged aircraft, a kite, and even a rocket. The weather was also perfect for launching UAS as the wind wasn't too strong as to effect the rotary craft. The temperature was approximately 50 Fahrenheit outside, a heat wave compared to previous weeks.
 |
| The Eau Claire Outdoor Sports Center, located at point A, has a wide open area perfect for launching unmanned aerial systems and is close enough to the UWEC campus for ease of access. (Figure 1) |
UAS Demonstrations:
Rotary-Winged Aircraft:
The class was first treated to a rotary-wing craft demo from professor Joe Hupy and his three-wing copter (Figure 2) and Max, a physics student who has been working with Joe and his six-wing copter (Figure 3). Both of these copters were constructed by Joe and Max respectively from ordered parts (Figure 4).
 |
| This close up of the three-armed craft shows the details that are put into it. The front mounted camera can be seen on the left and the two propellers on the wings can also be seen. (Figure 4) |
Kite:
When many people think of UAS, they think of super expensive drones or copters, but kites and balloons are also a type of UAS that are extremely viable when the budget is tight. The next demonstration involved using a kite to take images of the ground. This is an extremely cheap option, and despite the kite being used in class being on the nicer side of kites, it usually costs less than $100 to purchase a kite that is serviceable for taking aerial images. The kite can easily be assembled in the field (Figure 6) and launched (Figure 7) given there is a decent wind. If no wind is present a balloon may be a better option for taking cheap aerial imagery.
 |
| Assembly of the craft is rather simple and only takes about five minutes maximum depending on the type of kite. Here, Jacob and Blake assemble the kite as the class looks on. (Figure 6) |
 |
| Here Tanner and Blake launch the kite. The only trick of this process is insuring there is enough space to launch and knowing the wind direction. (Figure 7) |
After launch, the kite should be let out about 100 feet before the camera is attached to the string line using a specially designed string set up which allows the weight of the camera to let it point down throughout the flight. (Figure 8). From here the kite is let out further and further (Figure 9). The camera is preset to take picture over set intervals (Figures 10-12).
 |
| The kite is let further as the camera rises. The camera has already started taking images and will continue throughout the duration of the flight as set. (Figure 9) |
 |
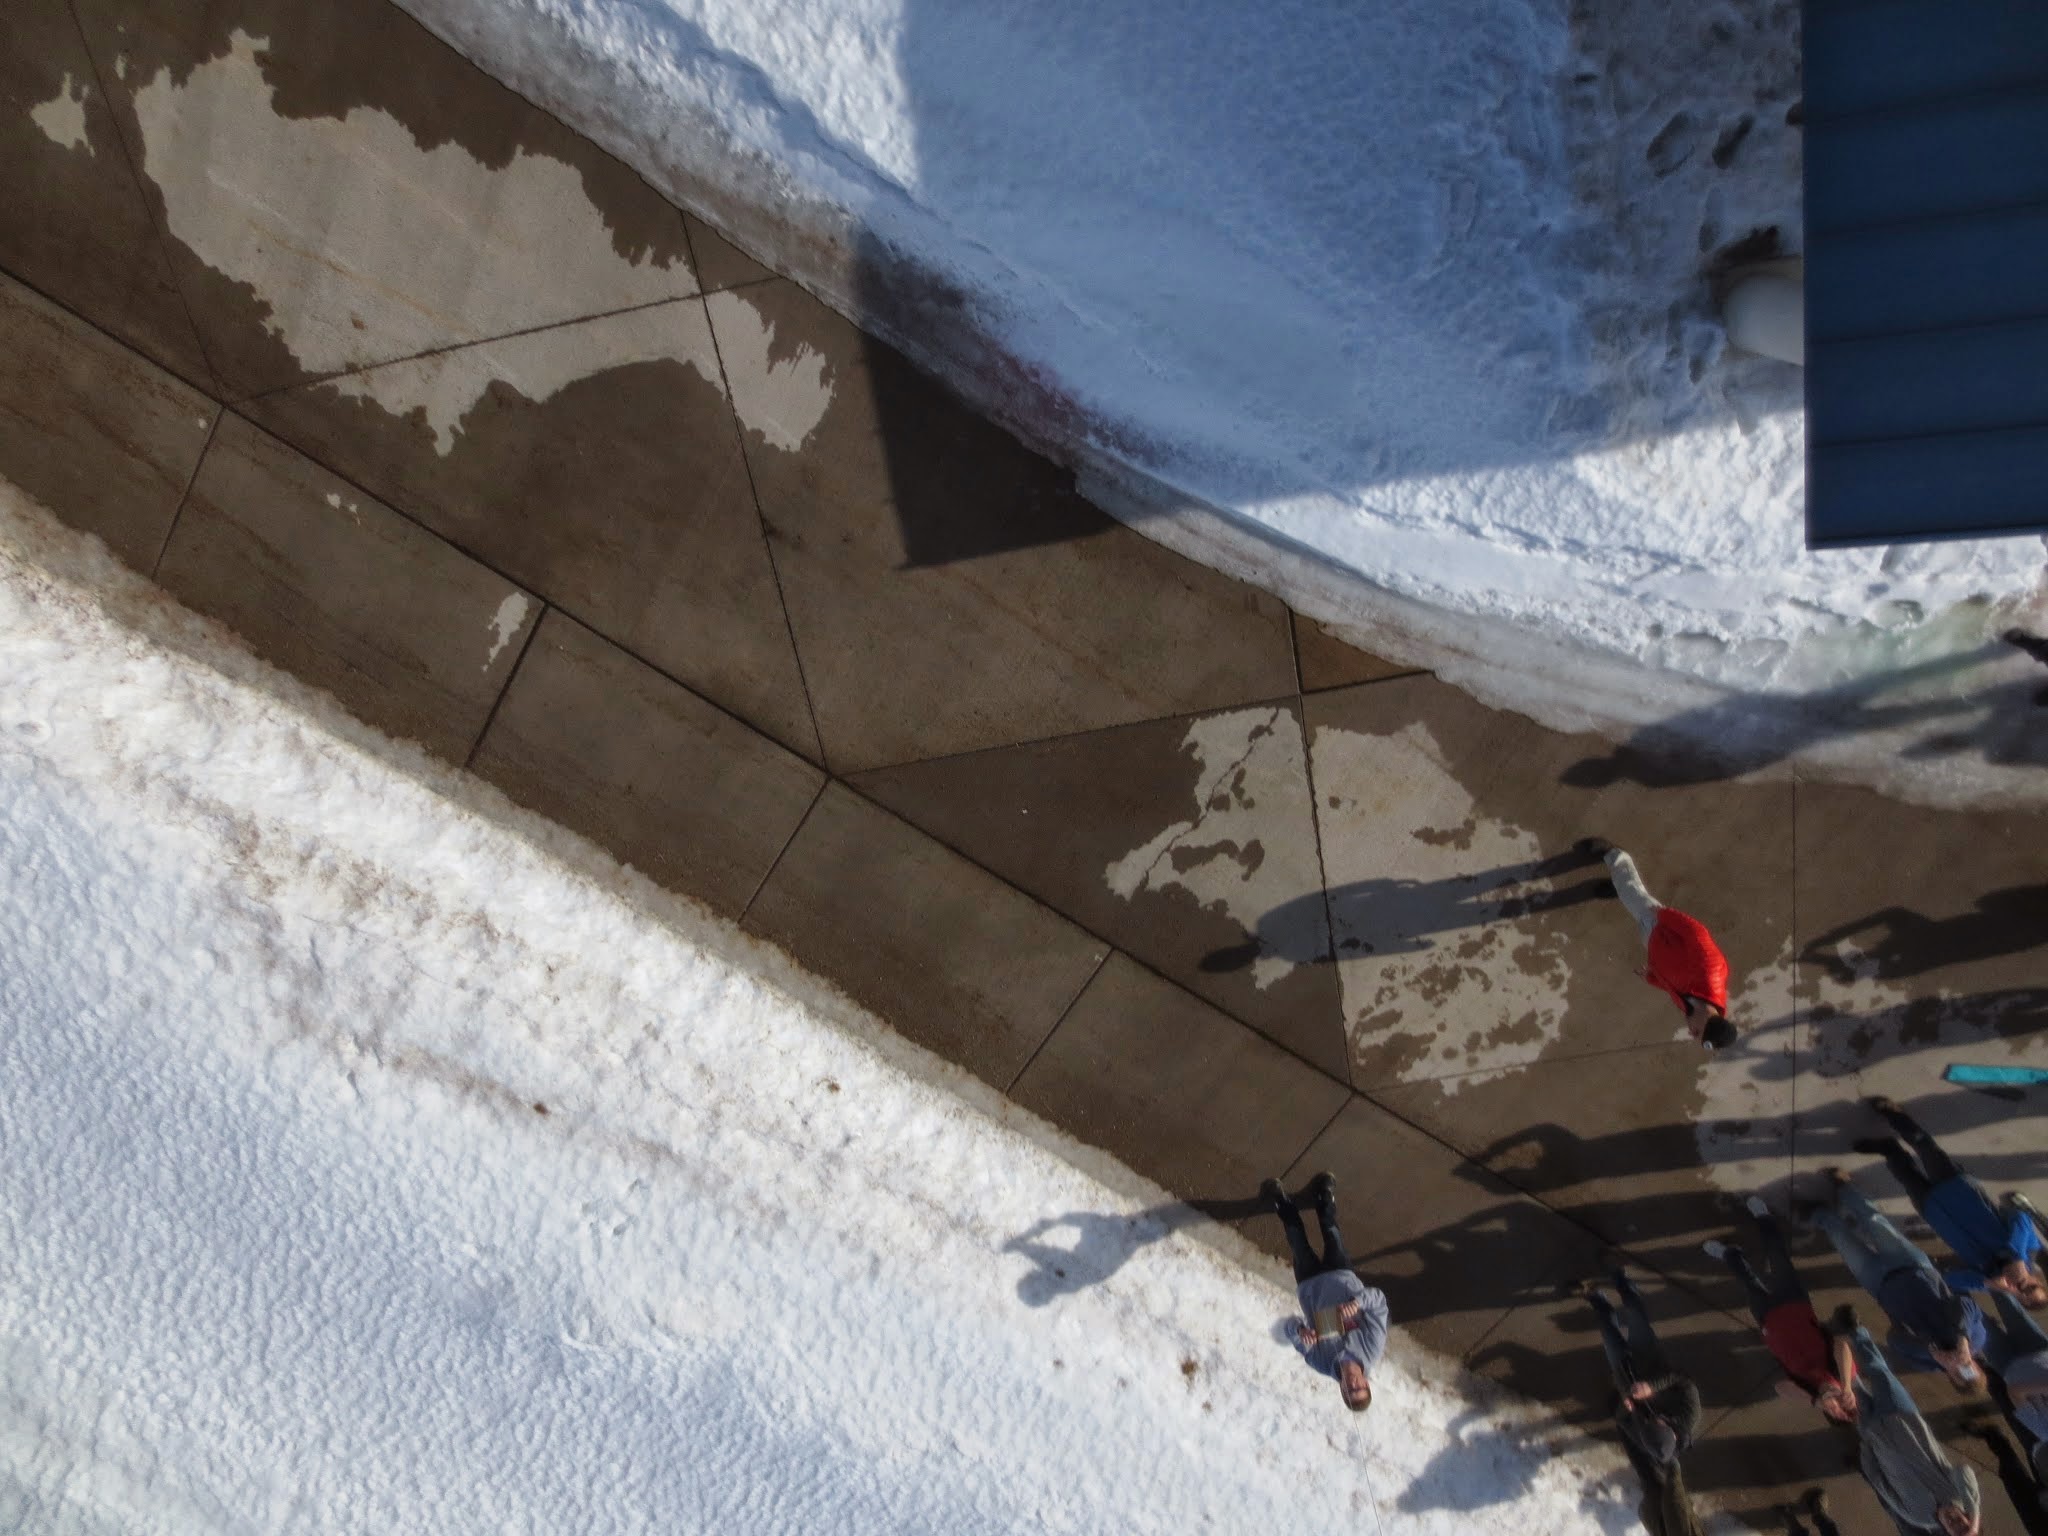
| The camera rises as it takes pictures, here it hasn't risen enough to get a good view of the area. The class can be seen eagerly looking on. (Figure 10) |
 |
| The kite continues to rise taking the camera with it. The kite easily supports the camera's weight due to the wind. A larger area can be more readily seen as the camera rises. (Figure 11) |
Rocket:
Professor Joe Hupy was extremely excited for this demonstration as he had never attempted to launch his rocket before. Joe assembled the rocket on site, putting the engines in them and putting the parts together (Figure 13). From here the rocket was set on a launcher and two video cameras were attached to it using tape (Figure 14). These cameras were extremely small, approximately the size of a key chain. The rocket had two engines inside and when it reached its peak it is designed to have a parachute open to slow the fall and allow for video to be taken of the area. When launched the rocket appeared to not fly to maximum height and the parachute didn't set off, though luckily the rocket landed in a pile of snow. Apparently, one of the engines had accidentally been put in backwards and hadn't fired. This caused the rocket to not reach maximum height and also caused the pressure inside the rocket to not reach a great enough level to allow the parachute to fire. More attempts at the launch will be made in the future.
 |
| The rocket is being assembled by Joe, unfortunately one of the engines was put in wrong which caused failure during launch. (Figure 13) |
The preparation and the launch can be seen here.
This introduction to simple unmanned aerial systems helped greatly in showing what is involved during the whole process. The class had previously researched these systems but had never gotten to be hands-on with them. Thanks to the great weather, Max, and Joe this was possible and was a great experience.


No comments:
Post a Comment